Most bad nights of sleep outdoors are decided before you ever get into the sleeping bag. The site that looks idyllic at seven in the evening, lit sideways by a low sun, is sometimes a shallow puddle, a wind tunnel, or a place where a dead branch is waiting for one good gust. The good news is that all of it is readable in daylight, if you slow down and walk the ground before you unpack.
These eight checks take about ten minutes. Do them in order, and you will usually know within two of them whether to stay or keep walking.
Forget the view for a moment and think about where water would go if it rained hard for an hour. Water always finds the low point, and tents are usually pitched on exactly that spot because flat ground feels comfortable.
Look for clues rather than guessing:
Aim for a slight rise, even ten or fifteen centimetres above the surrounding ground. Gravel, sand, pine duff, and rock drain well. If the ground squelches under your boot heel or water rises around your footprint, move on. No amount of groundsheet will fix a site that sits in a bowl.
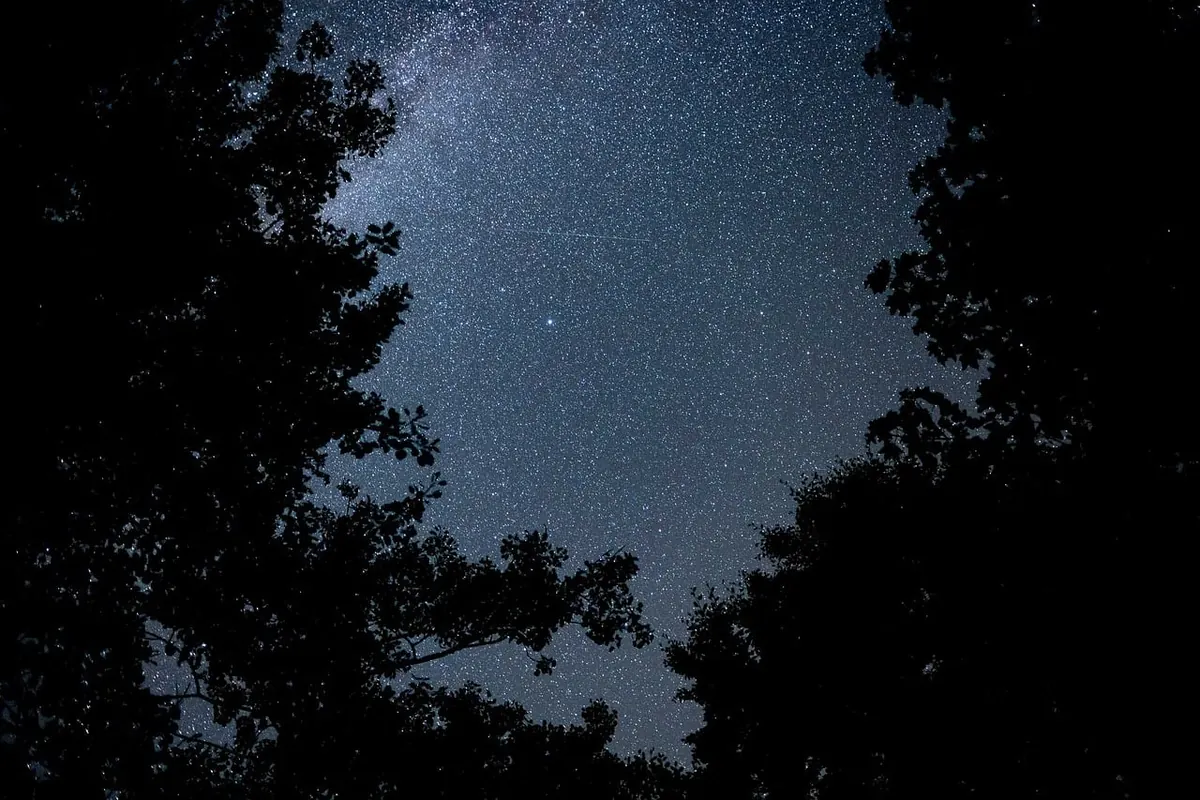
Stand where your head will be and tilt your head back. You are checking for what arborists call widowmakers: dead branches still attached, cracked trunks, leaning trees, and trees with shallow root plates that soften in wet soil.
Three things deserve attention. First, any dead branch directly overhead, even a small one, because it will be falling from height. Second, trees uphill of you — a dead tree fifteen metres away can still reach your tent. Third, the trees themselves: a big, healthy conifer looks reassuring until you notice that it drops cones and small limbs all night.
While you are looking around, check the smaller residents too. Wasp nests under eaves of rock, ant mounds, and well-worn animal trails leading to water are all worth avoiding. If a game trail runs through your chosen clearing, expect visitors at dawn.
Wind does two things to a tent: it flattens it, and it chills you. Fully enclosed spots feel cosy until condensation soaks everything inside. What you want is partial shelter with a little airflow.
Read the landscape for evidence. Trees with branches pushed to one side, grass laid flat, or sand and snow sculpted into ridges all point to the prevailing direction. Valley floors and lakeshores are the most exposed places to be. Mid-slope benches, the lee side of a ridge, and the sheltered side of a thick stand of shrubs tend to be calmer.
Cold air also sinks. On a still night, the coldest air pools in hollows and on valley bottoms, while a spot a few metres up the slope stays noticeably warmer. Resist the temptation to tuck yourself into a deep bowl for the feeling of protection.
Lie down where the tent will go. That is the fastest slope test there is — you will feel instantly whether you are sliding toward the door. Aim for a slope so gentle you barely notice it, and pitch with your head slightly uphill if there is any grade at all.
Clear sticks, stones, and cones from under the sleeping area, and stack them nearby so you can put them back in the morning. Do not dig drainage trenches. They damage the ground, usually fail in real rain, and leave scars behind. If the site needs engineering, it needs a different site.
Where there is a choice, sleep on durable ground: rock, gravel, sand, dry grass, or compacted duff. Fragile moss, alpine plants, and young seedlings take years to recover from a single night.
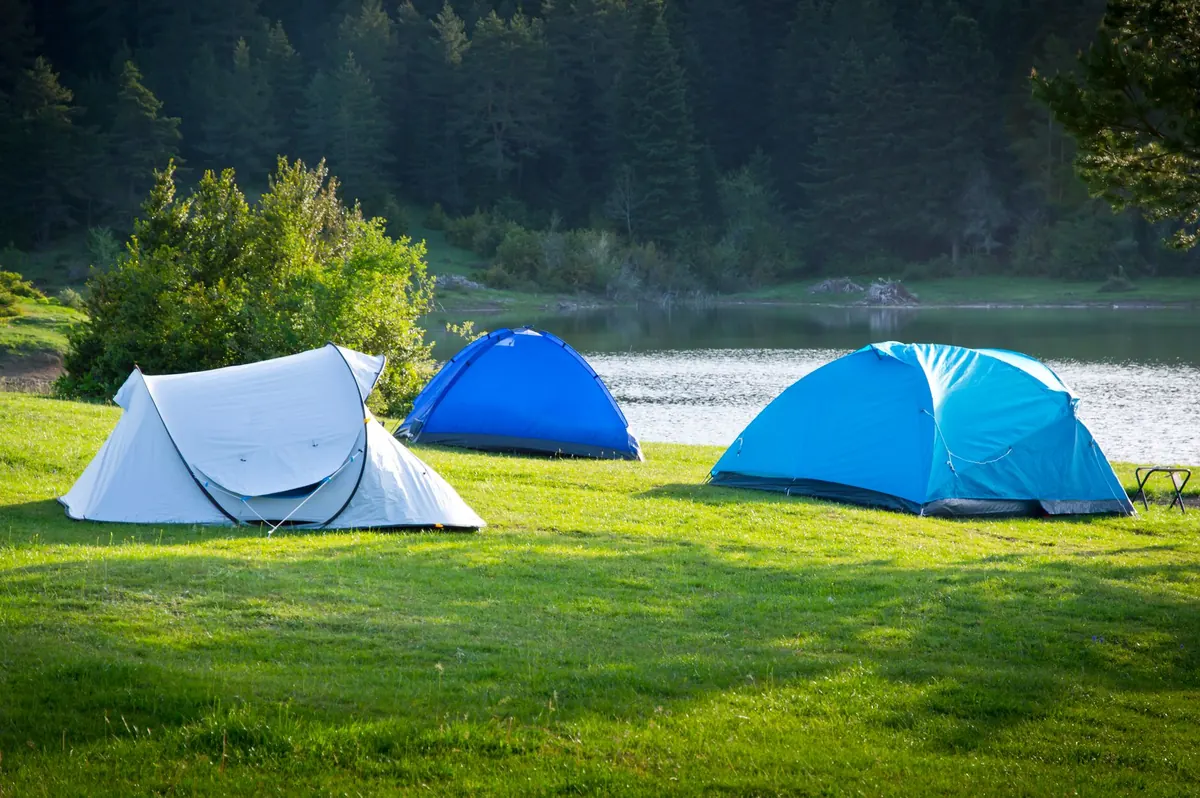
Camp back from lakes, streams, and springs, both to protect the fragile banks and to stay out of the path that animals use to reach water. A reasonable rule of thumb used by many land managers is at least sixty metres, and further in heavily used areas.
Keep your cooking area separate from your sleeping area, and store food according to local guidance — a bear canister where required, a proper hang otherwise. Where bears, raccoons, or foxes are common, check with the local land agency about current requirements before you assume a simple hang is enough.
Land status matters more than any of the physical checks, because a perfect site on private land or in a closed area is not a site at all. National parks and many state parks generally require designated campsites, permits, or reservations. National forests and similar public lands often allow dispersed camping, but nearly always with restrictions on distance from water, roads, and trails, plus stay limits and seasonal closures.
Fire rules change with conditions, sometimes weekly. Before you count on a campfire, check current fire restrictions and use an existing fire ring only where fires are permitted. Regulations vary widely by jurisdiction, so verify with the managing agency or a ranger station rather than relying on what worked last season.
The most environmentally sound campsite is usually the one that is already there. Choosing a hardened, previously used spot concentrates your impact instead of spreading it across fresh ground. Look for bare, compacted soil and an established fire ring where fires are legal.
Once you are in, keep the footprint small:
Do this standing in the middle of the spot you are considering, before any gear comes off your back:
Ten minutes of walking and looking beats an hour of adjusting guy lines in the dark. Choose well, and the site does half the work of a good night's sleep for you.
Photo: Adem Percem / Pexels