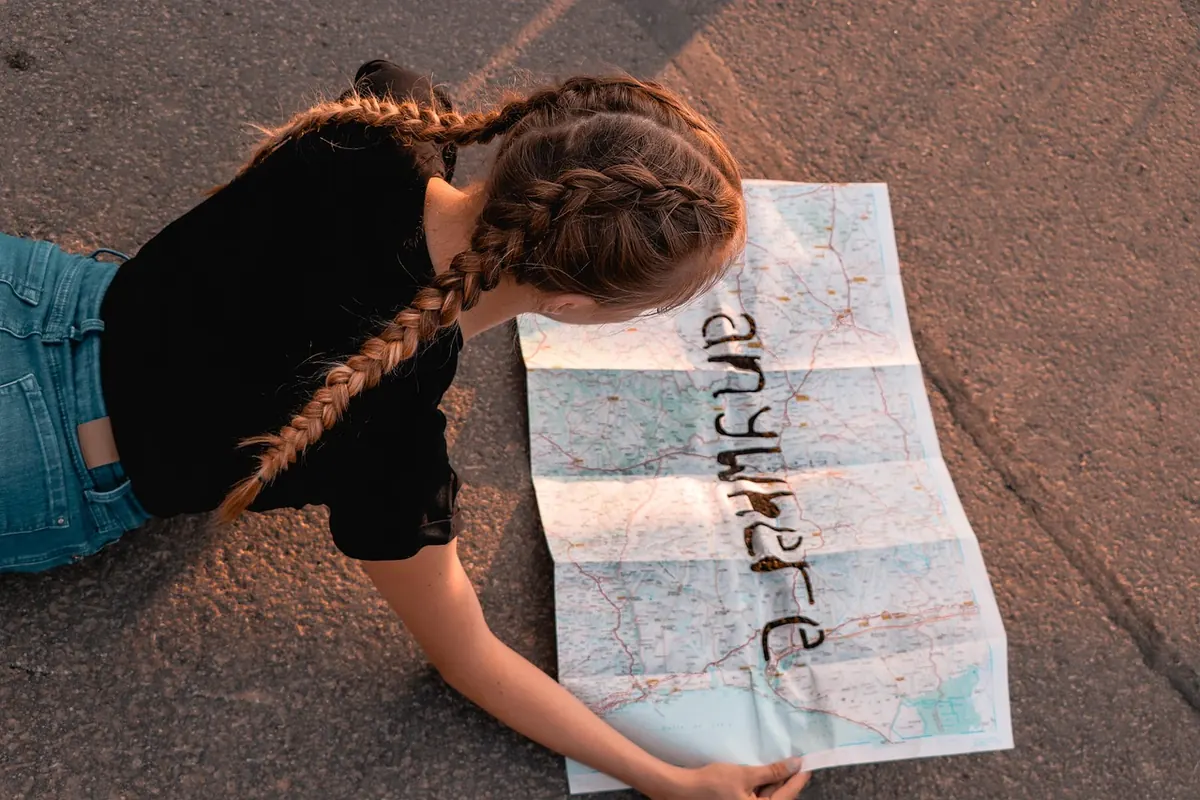
A topographic map can look like a plate of dropped spaghetti. Every one of those squiggly lines, though, is a statement of fact about the ground: this is higher, that is steeper, the creek runs here. Learn to read them and a flat sheet of paper becomes a three-dimensional picture of the ridge you're thinking about climbing.
The skill takes an afternoon to get comfortable with and a season of hiking to get quick at. But the core of it — contour intervals, elevation gain, and a handful of repeating terrain shapes — covers almost everything a day hiker or weekend backpacker needs.
A contour line connects points of equal elevation. That's it. Follow one across the map and you stay at exactly the same height above sea level the whole way, even though the ground under it rises into a ridge and drops into a gully.
Three consequences fall out of that definition, and they never break:
So the only question left is which direction is up. Find the lines with numbers printed on them and compare: the bigger number is higher ground. If the terrain on one side of your position is labeled 4,800 and the other side reads 5,200, you know the general trend.
The contour interval is the vertical distance between adjacent lines, and it's always printed in the map legend or margin. On the classic USGS 7.5-minute series it's usually 40 feet. Metric maps often use 10 or 20 meters. Some maps vary the interval across the sheet, so check every time rather than assuming.
Here's the trick that makes the numbers usable. Every fifth line is drawn heavier and labeled with its elevation — those are index contours. Between two labeled lines you can count the gaps and divide.
Say one index contour reads 5,000 feet and the next reads 5,200. Count the spaces between them: four lines in between means five gaps, and 200 divided by five gives you a 40-foot interval. That confirms the legend and, more importantly, gives you a mental ruler you can apply anywhere on the sheet.
Once you know the interval, you can start naming shapes. A few patterns show up on nearly every map:
Ridges and valleys are the two that trip people up, because both look like pointed shapes. The fix is to check the numbers on either side. In a valley, elevation increases as you move away from the V. On a ridge, elevation decreases as you move away from it.
Contour lines bunched together mean steep ground. Lines spread wide mean gentle ground. That's the whole rule, but you can put numbers on it with a little arithmetic.
On a 1:24,000 map, one inch equals about 2,000 feet on the ground. If two 40-foot contours sit an eighth of an inch apart, that's roughly 250 feet of horizontal distance for 40 feet of climb — about a 9-degree slope. Squeeze those same lines to a sixteenth of an inch apart and you're near 18 degrees, which is the point where most hikers start leaning into the hill and breathing harder.
A useful field check: if you can't fit a pencil tip between two contour lines, plan on a slow, hands-on-rock section. If you can lay a finger between them, it's a normal climb.
Elevation gain is not the difference between your high point and your trailhead. It's the sum of every uphill stretch along the route.
A loop that starts at 6,000 feet, tops out at 7,200, and returns to the same trailhead has a net change of zero and about 1,200 feet of gain — plus another 1,200 feet of descending that will quietly wreck your quads. A route that rolls over three intermediate ridges before reaching the summit will accumulate far more climbing than its high point suggests.
To estimate it, trace your planned route with a finger and count the contour lines you cross while heading uphill. Multiply that count by the interval. It won't be exact — a route between contours wanders — but it lands close enough to compare two options.
Then translate it into time. Many hikers use a rough rule of thumb: about half an hour extra for every 1,000 feet of climbing on top of flat-ground walking time. It's a starting point, not a promise, and it should be adjusted for your pace, pack weight, and how much of the climb is off-trail. Test it against hikes you've already done and calibrate from there.
Run through this before you leave the house. It takes five minutes and prevents the worst kind of surprise.
The fastest way to make this stick is to read a map of ground you already know. Pull up the topo for your usual neighborhood walk or a local hill, and match what the contours say to what you remember about the climb. Do that three or four times and the lines stop being abstract.
Then take a paper map on your next hike, keep it in a pocket rather than buried in a pack, and check it at each junction. Fold it so the section you need is showing. Paper doesn't need a battery, works in the rain if you keep it dry, and forces you to hold the whole route in your head — which is exactly the habit that makes you a better navigator.
Photo: 11417994 / Pixabay