Your first backcountry overnight is a puzzle with three moving pieces: a route you can actually walk, a permit that lets you be there, and a patch of ground where sleeping is legal. Sort those out and the rest — the gear shuffle, the early alarm, the cold dinner eaten in the dark — becomes ordinary logistics. Miss one, and a trip that looked simple on a screen ends at a locked gate, a dry creek, or a ranger asking you to move along.
Distance is the least useful number on a map. A flat six miles with a light pack is a pleasant afternoon. Six miles with 3,000 feet of climbing, a talus field, and a creek crossing is a different animal. For a first overnight, plan for the slowest person in the group on their worst hour, not the fastest on their best one.
Most backpackers moving steadily on trail cover roughly two miles an hour with a pack, and slower as the grade or altitude rises. Use that as a planning figure, then add time for snacks, map checks, and the ten minutes you spend adjusting a strap. If the plan only works if you hike in the dark, it's too ambitious.
Plot the route on a paper map at home, then follow it again with your finger, asking what you'll see at each junction. Mark water sources, side trails, and confusing spots where an old road crosses the path. Download an offline map for your phone and carry paper anyway — batteries fade in the cold, and screens are hard to read with gloves on.
Backcountry rules don't come from one system. A national park, a national forest, a state wildlife area, and private timber land can all sit within twenty miles of each other, each with different answers about permits, campfires, dogs, and where you may sleep. Common setups include quota permits with an advance lottery, free self-issued permits at the trailhead, zone systems where you must sleep in a specific spot on a specific night, and open dispersed camping with general distance rules.
Read the fine print on fire restrictions, bear canister requirements, group size caps, and whether you must pack out human waste. These details shift by season and district, so the managing agency is the only source worth trusting on the day you go. If your route crosses private land or a reservation boundary, contact the landowner or tribal office directly. On any legal question, ask the land manager before you drive, not after.
On the map, blue lines lie. A creek drawn in thin ink may be a bed of dry cobbles by August, and a spring marked on an old topo might be a seep that vanishes in a dry year. Plan each day around water that's reliable — a lake, a major stream — and treat everything else as a bonus.
Carry more capacity than you think you need. Two one-liter bottles plus a collapsible container gives you options: dry camp on a ridge with a view, or push a few extra miles without rationing. On genuinely dry routes, cache water where it's legal to do so and note the spot precisely.
Filters, chemical drops, and boiling all work when used correctly, each with trade-offs in weight, wait time, and taste. Follow the manufacturer's instructions exactly. Since treatment is a health decision, check with the land manager or a medical professional if you're unsure what suits your destination.
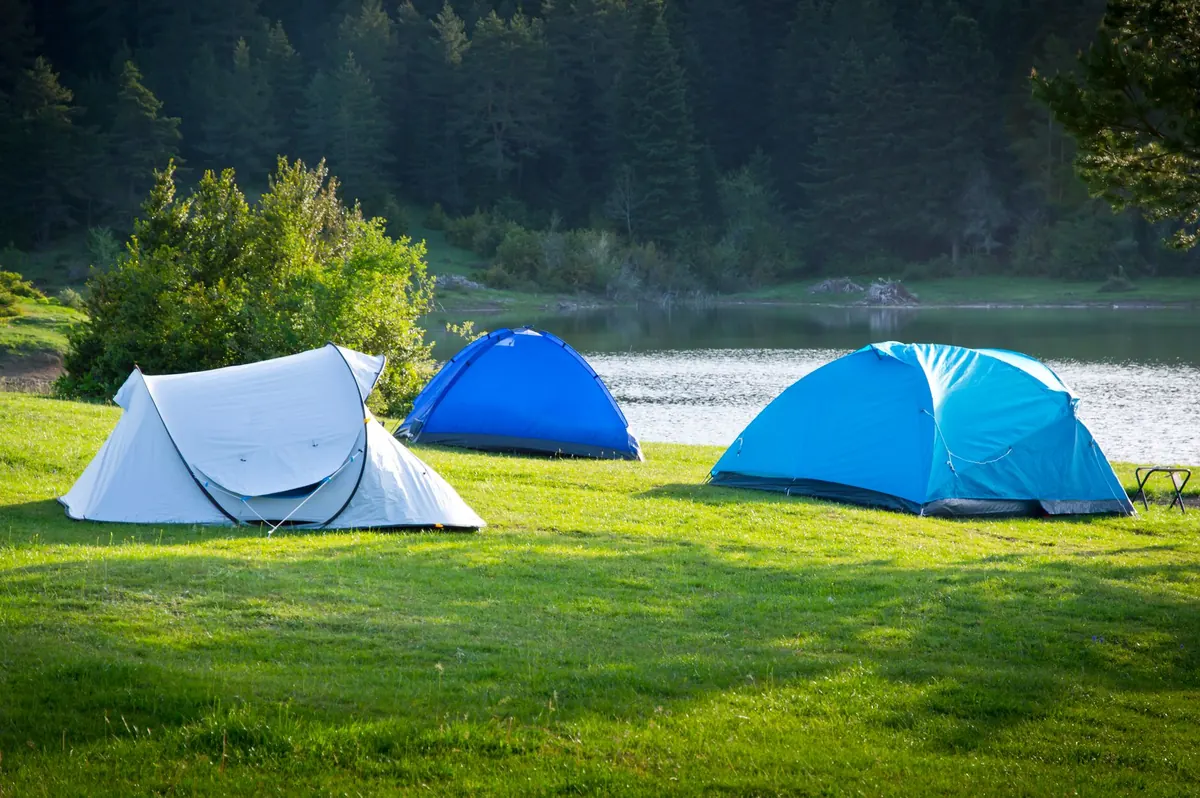
Campsite rules exist to protect the places we want to keep visiting, and they're the thing first-timers most often break by accident.
Then look up. Dead trees and loose branches are the most common campsite hazard, and a widow-maker above your tent isn't a risk worth calculating. Check for rockfall below cliffs and for the high-water mark along a creek bed; a dry wash can run fast after rain that fell miles away.
Write a simple trip sheet and leave a copy with someone at home: trailhead, route, planned camp, expected return, vehicle description, and who to call if you're late. Print a second copy for your pack. A plan nobody else can read isn't a plan.
Pack the food you'll actually eat, fill your water, and keep your map, compass, headlamp, and layers near the top of the pack. Set the alarm earlier than feels reasonable.
On the trail, keep the day small: reach the next junction, then the next water source, then the next ridge. First backcountry trips are rarely ruined by ambition undone. They're made memorable by a quiet camp in the right place, with enough daylight left to enjoy it.
Photo: P Hsuan Wang / Pexels